Menu Installation⚓︎
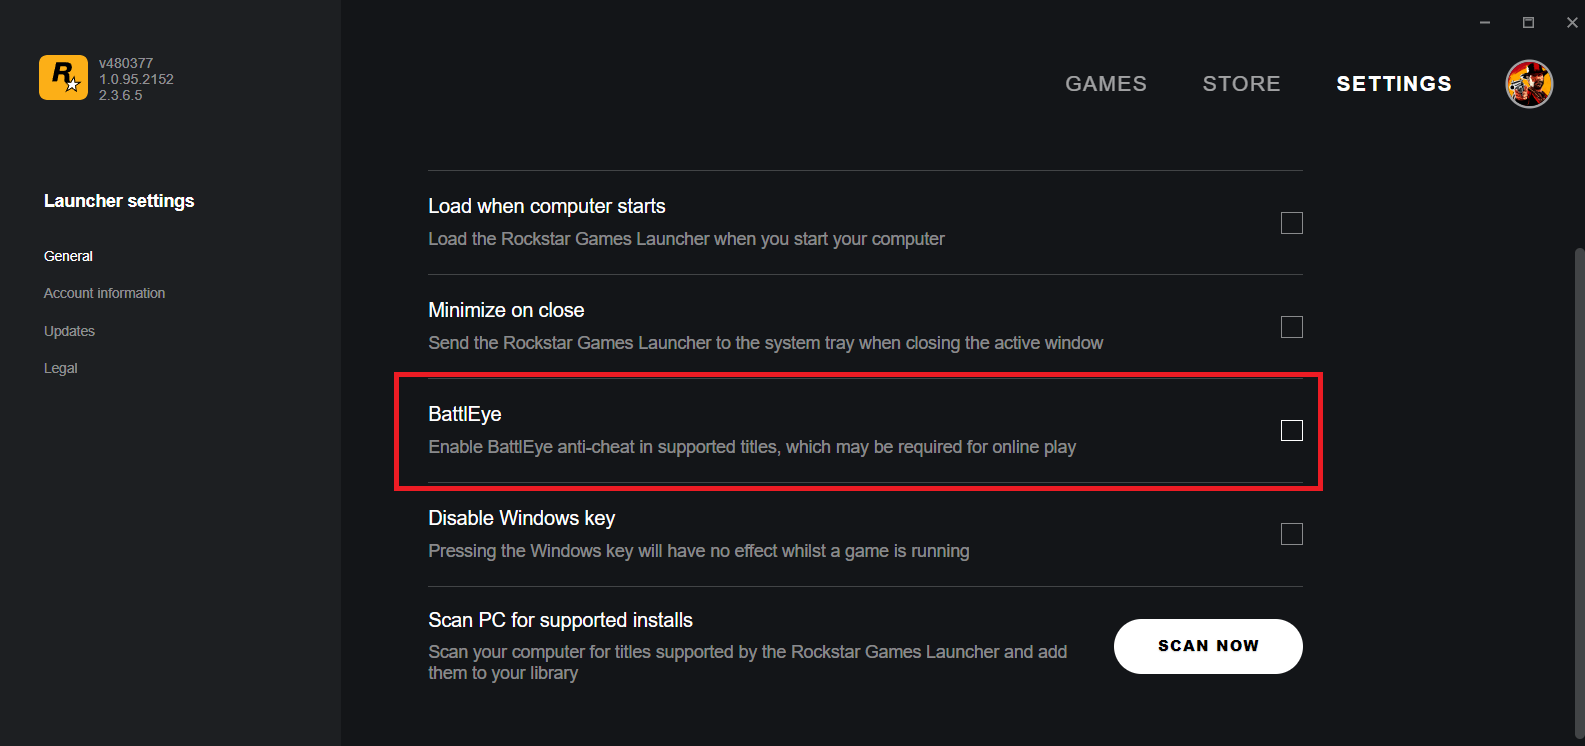
Disable BattlEye in the Rockstar Games Launcher!

As long as you have an active license, you can download the menu files from your user panel after logging in with your account. Once you download the files, which will come bundled in a ZIP package, extract them to any folder of your liking, and follow these steps:
- Disable real-time protection on your antivirus software, or add an exception for the folder where you will place the menu files.
- Extract the content from the ZIP package into a folder of your choice. Make sure that the folder is not synced to OneDrive or similar services.
- Make sure your game is closed, and run the
Launcher.exefile with admin privileges. - Type your username and password from the website, and press Enter. Optionally, check the Remember box to store your credentials.
- Wait until you see the message
Waiting for GTA5.exeon the launcher window, and start GTA V. - Wait until you are in the main selection screen, or in Single Player / Online.
- Click on the
Injectbutton whenever you are ready. You will see a splash screen on your game once it loads.
If everything works fine and the menu is successfully injected, you can start using it. However, if you encounter problems, such as the game crashing when the menu is injected, please follow the recommended troubleshooting steps.
Game and menu updates⚓︎
When GTA Online is updated, either for a DLC or a major patch, 2Take1 will be unable to inject (or crash the game in the process), and therefore will require an update.
After a new 2Take1 version is released, the launcher will download the latest files from the server. If you were already playing when the update is released, you will be given a grace period until the Popstar launcher closes itself (along with the game).
Reset your credentials⚓︎
If you checked the Remember box when you first logged into your account on the Popstar launcher, you can delete your stored credentials. To do so, go to the %appdata%\PopstarDevs folder and delete the PopstarAuth.cache file.